(Warning: Installing a custom ROM on your device will void your warranty and there is a risk that it can brick your device)
(Note: In my case, I could afford to risk bricking my phone)
Index
What is rooting?
A user having root access of an operating system means they have the capability to make unrestricted changes in the system. Such a user is also called a superuser or an admin. Check out the wiki page for more details.
Mobile phones which ship with Android pre-installed in their devices do not give users root access by default. For example, the users have read-only permissions for /system/ partition on the phone. Therefore, users need to put effort into taking root access of their devices. This extra effort is what we call ‘rooting’. Check this Wikipedia page for a good list of advantages that rooting provides to users. This gives users full control over their devices.
Android phones are shipped with nonfree software preinstalled which users cannot remove without having root access. Apps like YouTube, Google Play Store and other malware by Google are usually preinstalled. I wanted to remove the nonfree software from my phone.
To read the issues of freedom in Android in more detail, please check Richard Stallman’s article on this topic.
My experience of rooting
I have Samsung Galaxy S9+ phone and I searched on the internet for ROMs that can be installed in this device. I found the information on internet very confusing and unorganized. Since there was a risk of bricking my phone which would make it not usable, I thought of consulting someone who has installed custom ROM many times and can give some of their time to guide me. I consulted Abhas for this who is a hacker and has a lot of experience in installing custom ROMs. We were on a video call and Abhas gave me instructions.
The steps we did are listed here in this text file. Note that I used Debian, which is a GNU/Linux based operating system in my laptop. Depending on your phone model and laptop operating system, the steps mentioned at the URL will differ.
First, we tried installing Carbon ROM but it failed somehow. Then Abhas suggested me to try iode OS and I installed it. The XDA page for iode OS for my phone is here.
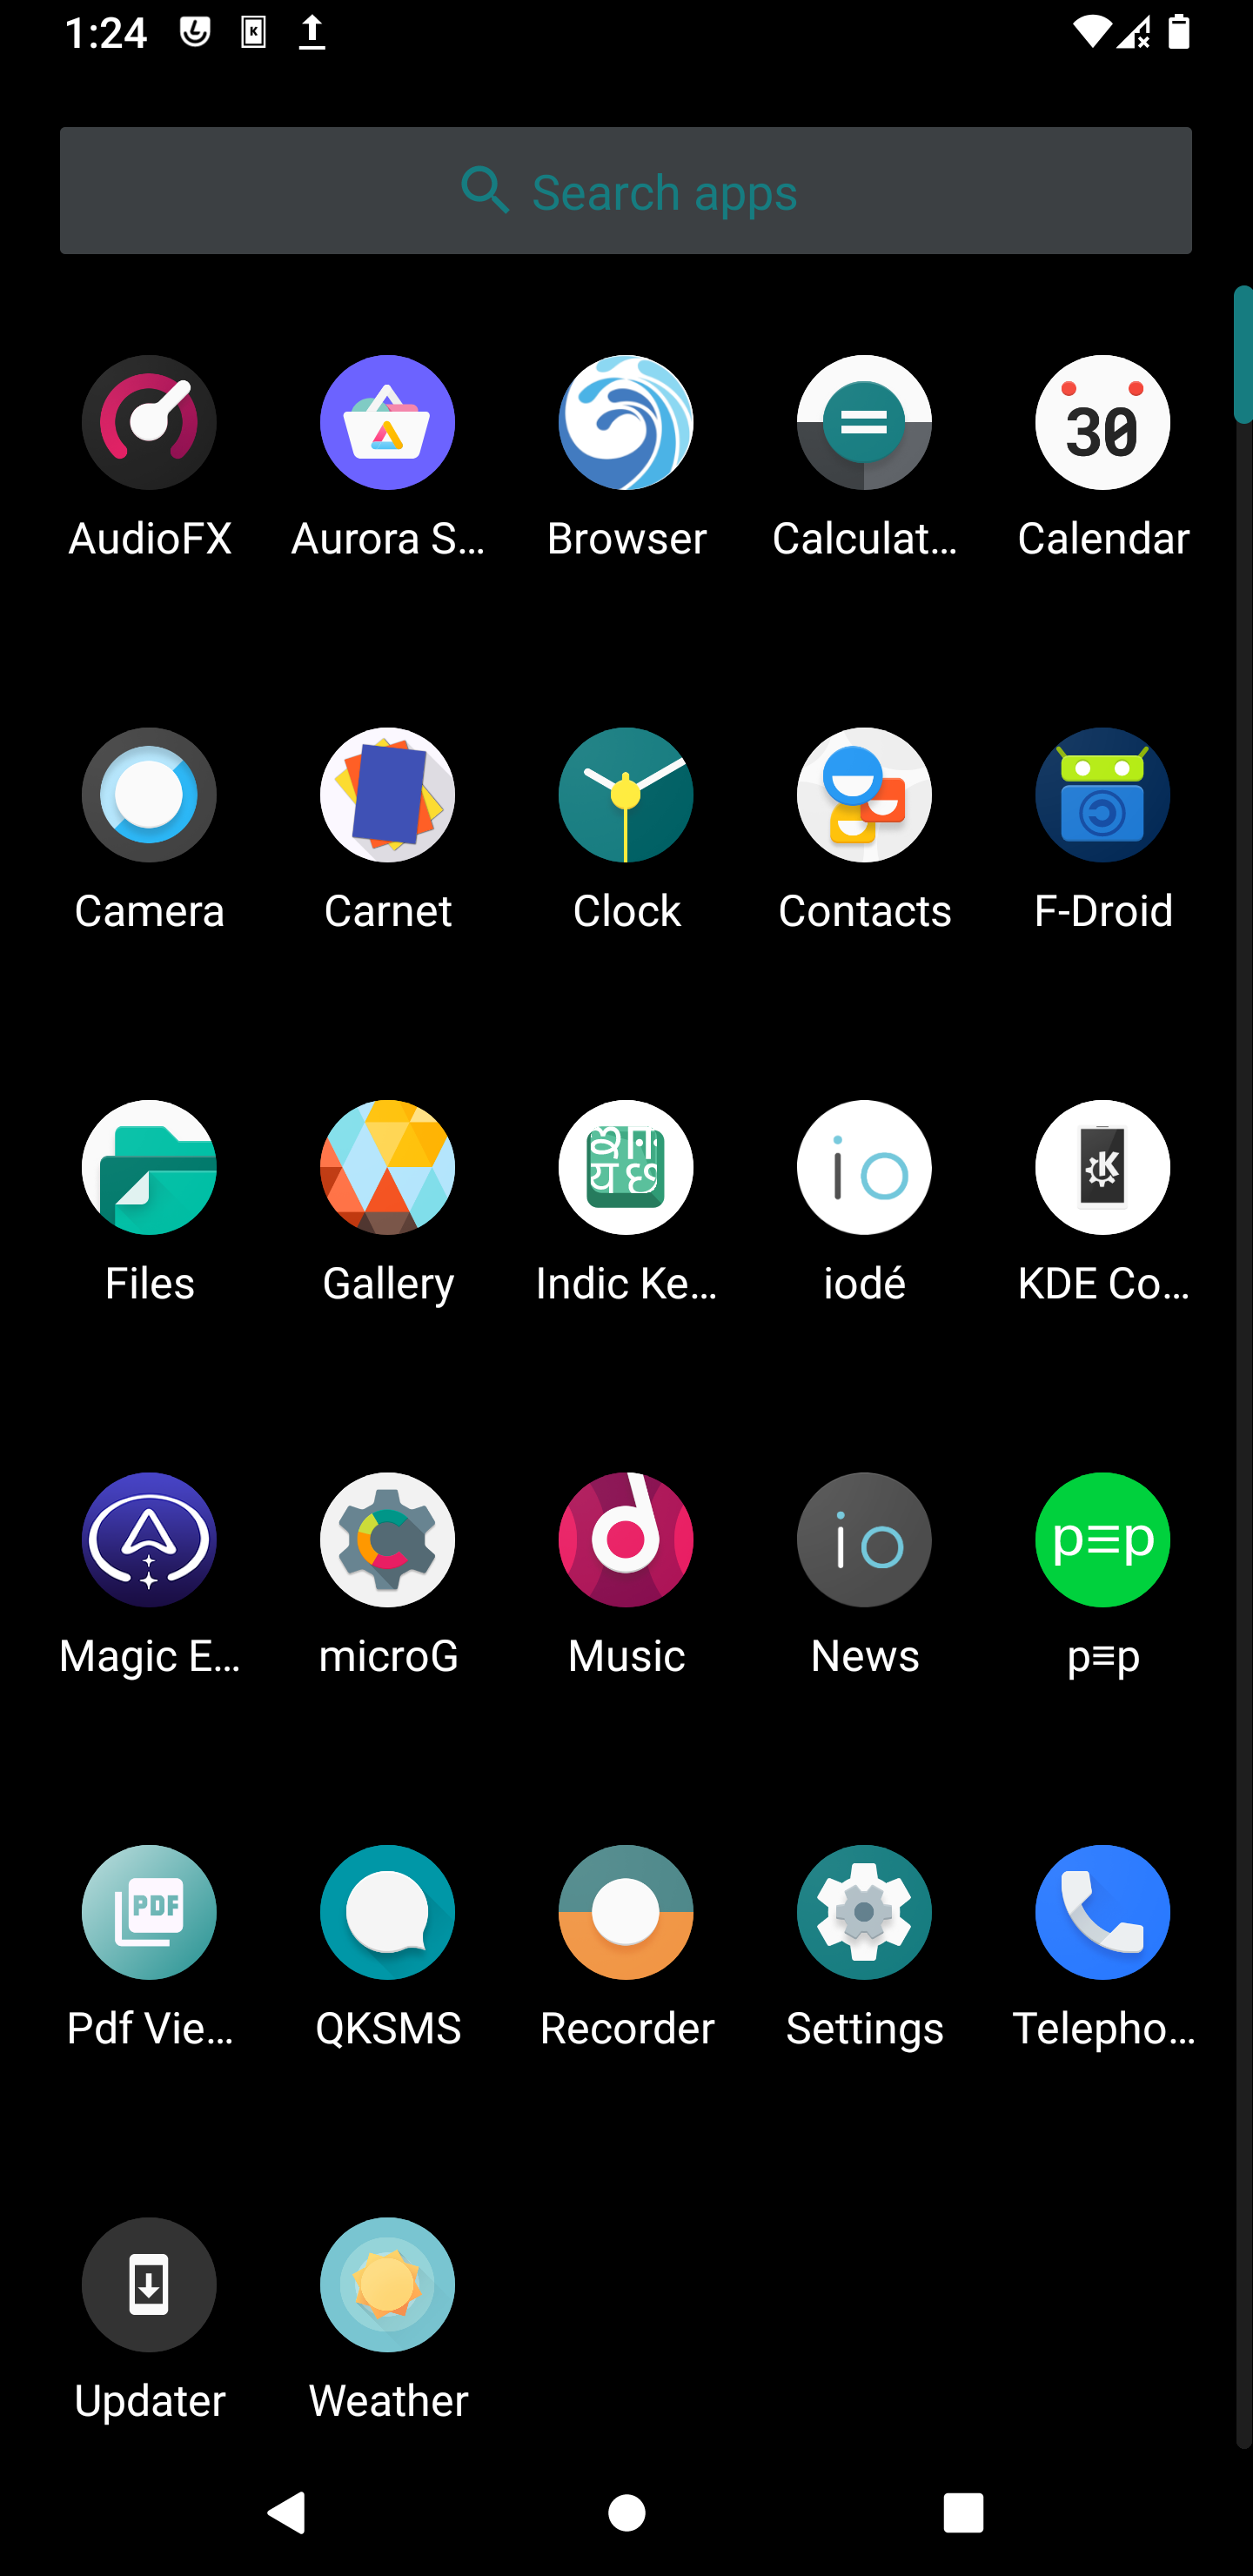
Check iode OS Screenshots taken by me after the fresh install (I may have installed a few apps before taking these Screenshots)
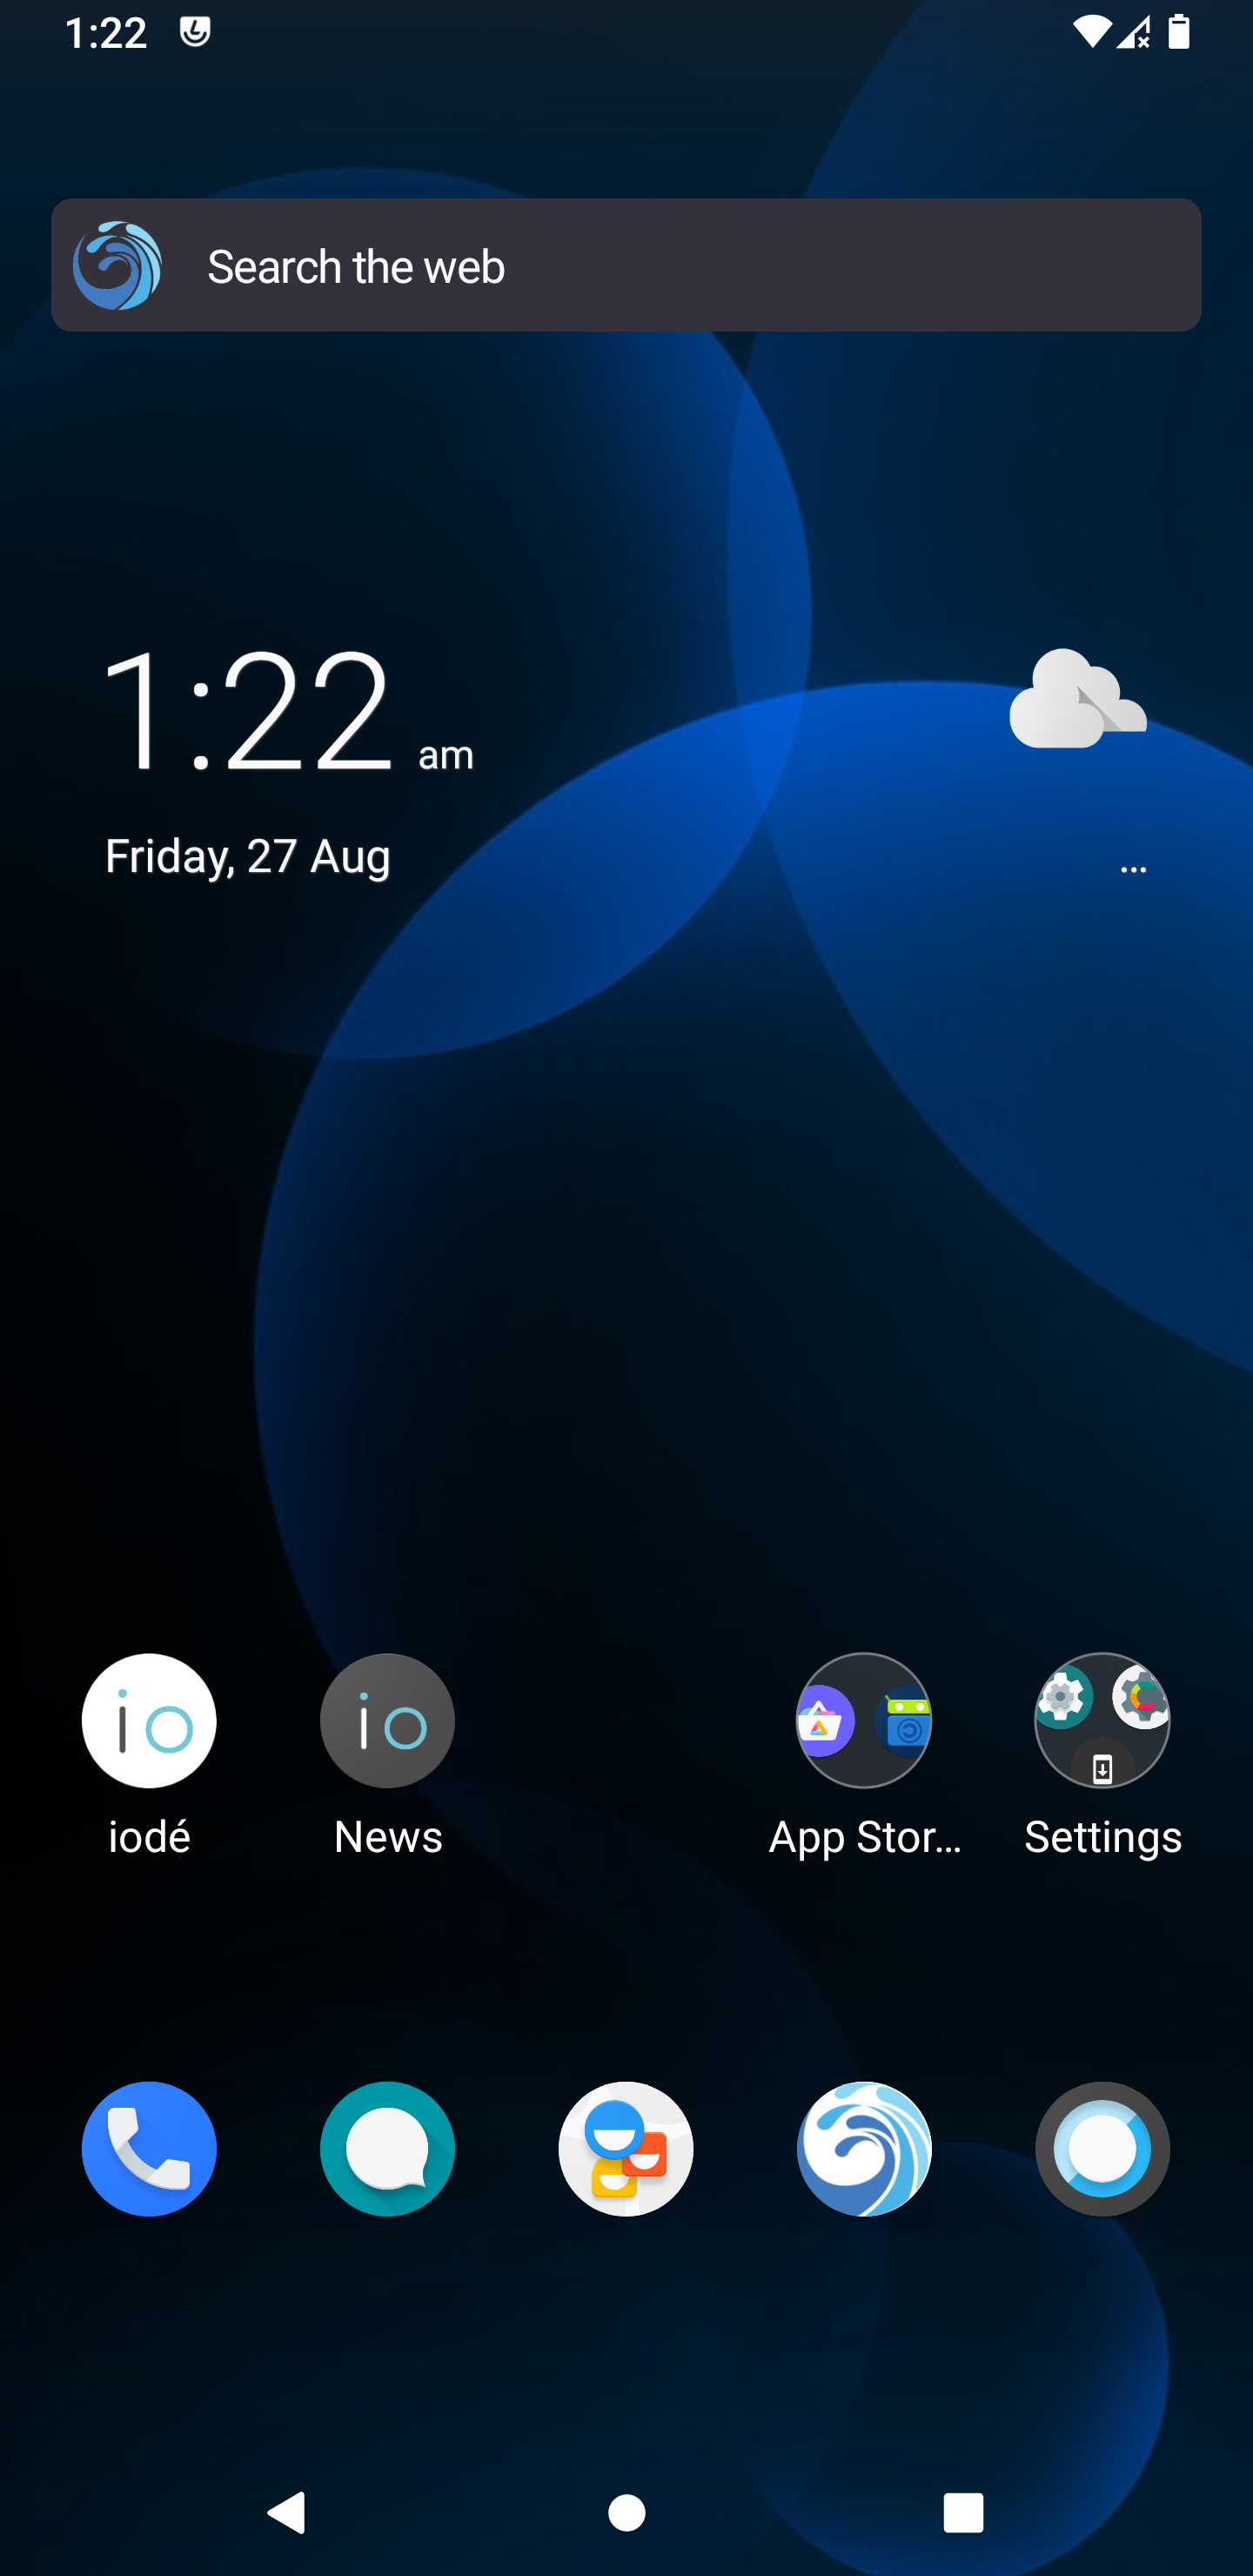
Important Note: After the install, the Jio sim does not work because iode OS (and many other custom ROMs) do not have Volte support.
For gaining root access, I flashed Magisk using TWRP.
After this, I learnt flashing a ROM myself and I successfully installed an older version of Lineage OS myself on Moto G4 Plus.
How much free software does iode OS have
iode OS is a free software operating system which does not have any Google apps pre-installed. Infact, the only nonfree software app pre-installed is Magic Earth. I immediately uninstalled that app. I suggest iode OS team to remove Magic Maps. If they would like to add any maps app, my suggestion to them is to add Organic Maps which takes data from OpenStreetMap.
The phone still contains nonfree firmware which is necessary for some hardware, like WiFi, to function properly, and the nonfree firmware itself is a serious issue in terms of user freedom. Even though the phone does not contain 100% free software, it is still a big step towards my freedom. There are no Google or Samsung apps in my phone which were pre-installed in the phone.
Nonfree software in iode OS: Magic Earth + nonfree firmware.
List of a few pre-installed software in the iode OS:
-
F-Droid, modified to give priority to iode repository;
-
iode Browser
How to install a custom ROM
You can also install a custom ROM if you have an Android phone. If you have an iPhone, I don’t know anything about flashing a custom ROM there as of now. Perhaps ditching the iPhone is the only step towards freedom.
To find a custom ROM built for your phone, first check if Lineage OS has an official support for your phone. If Lineage OS is available for your device, then go for it. Also, check Lineage OS website for instructions to install custom ROM on your phone.
Steps for choosing a custom ROM:
-
Visit the XDA Forums.
-
Scroll down to All Categories section.
-
Choose your manufacturer from the All Categories list, for example, Samsung, Redmi etc.
-
Choose exact model of your phone, like Samsung Galaxy S9+. For my phone, this leads to this page.
-
Choose ROMs, Kernels from the list. This leads us to this page for my phone model.
-
Check for posts with OSS and OFFICIAL tags. Also check if gapps (Google Apps) are included or not. I suggest you to not include gapps.
If you click on a post, it will also contain instructions on how to flash a custom ROM.
Now the steps involved in installing custom ROM on your phone are:
-
Unlock the bootloader of the phone.
-
Run the phone in download mode and flash a recovery project like TWRP into the phone.
-
Use TWRP to wipe all the data– Dalvik Cache, system, cache, data. Flash the downloaded ROM image.
-
Reboot to recovery.
Depending on your device and the operating system in the laptop, the way to perform these steps would differ.
I know that these steps can be overwhelming for nontechnical users or users who haven’t done this before. Therefore, I am planning to make a video tutorial on rooting a phone in the future.