Earlier this year, gandi.net’s ownership changed and it was acquired by Total Webhosting Solutions. My domain and email were both hosted by this provider. Since I didn’t agree with the ownership change, I decided to switch my email provider. After discussing with Sahil, Snehal, Praveen, Nilesh, I shortlisted two email providers to choose from for ravi at ravidwivedi.in. One was purelymail and the other was mailbox.org. Since purelymail($10 per year) was cheaper than mailbox(€36 per year), I decided to give it a try. If this does not work out, I thought, I will switch to mailbox later.
Below are my steps on how I did it. The steps will be same in principle for any other provider you would like to switch to. So the guide will be helpful to you if you want to switch to any other email provider other than purelymail.
Be sure to read docs of the email provider you want to switch to in addition to this guide.
Step 1: Create an account on purelymail.com
First, I signed up on purelymail and created an account (like something@purelymail.com). They charged $10 upfront for creating this acount.
Step 2: Add your domain to your purelymail account
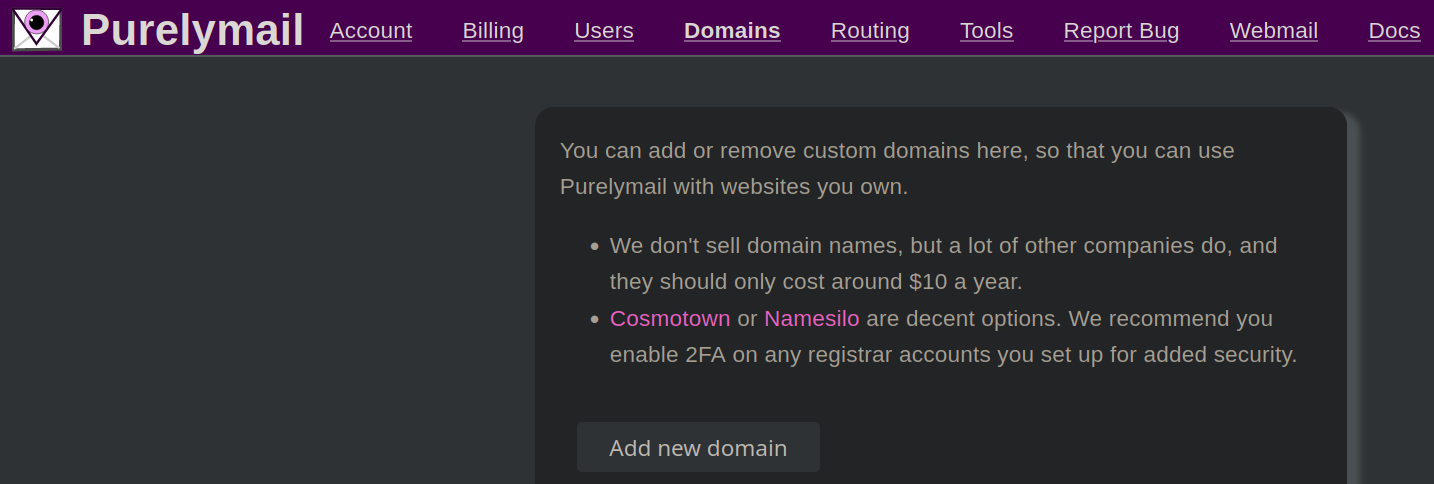
Sign in to your purelymail account and click on Domains section on the top and you will see a page like the screenshot below:

Click on ‘Add new domain’ as in the above screenshot.
Step 3: Enter domain name
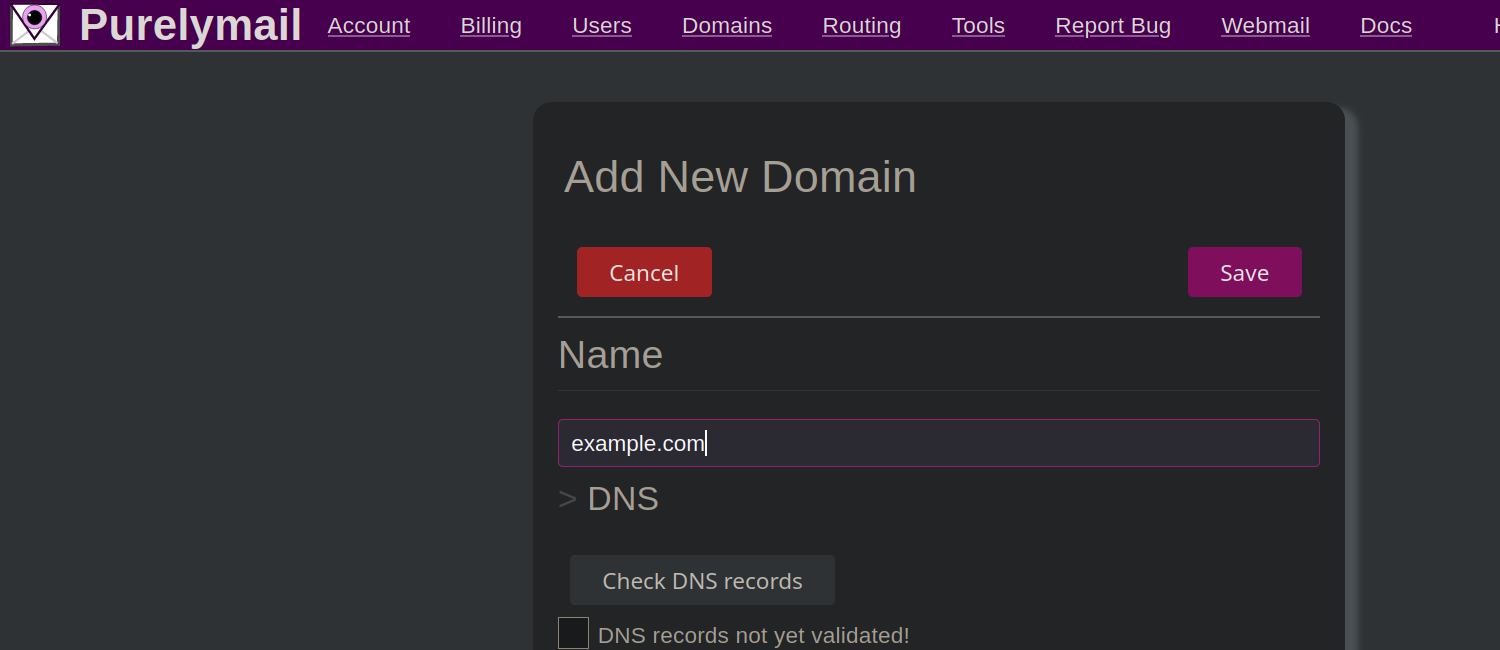
Enter your domain name (like example.com) to the page which you got after clicking ‘Add new domain’ in last step.

Step 4: Create an MX record
Create a new MX record in your gandi.net portal or whatever domain registrar you bought your domain from. Use your mail provider docs to obtain these values and plug in.
| Type | Host | Value |
| MX | (Empty) | mailserver.purelymail.com. (this is a sample value, you should put the value recommended by your email provider. dot at the end of the value is important.) |
Step 5: Add an SPF record
Create a new SPF record as you did in Step 4. Again, use your mail provider docs to obtain these values and plug in.
| Type | Host | Value |
| TXT | (Empty) | v=spf1 include:_spf.purelymail.com ~all (this is a sample value, you should put the value recommended by your email provider) |
Step 6: Add a TXT record to prove that you own the domain
I am not sure if this step is necessary for other email providers or even for purelymail, but since it was recommended by their docs I added this value from my gandi.net portal. It is a TXT record like this:
| Type | Host | Value |
| TXT | (Empty) | Redacted |
Step 7: Add DKIM signatures
DKIM signature is for the email receiver to verify whether the email has indeed been sent by the domain owner. It is highly recommended. You can read more about DKIM signature here. Read your docs of your email provider and put the respective values.
Below is a sample taken from my steps:
| Type | Host | Value |
| CNAME | purelymail1._domainkey | key1.dkimroot.purelymail.com. |
Note: the dot at the end is important.
I added two other CNAME records in this step as suggested by purelymail docs.
Step 8: Add DMARC record
Create a DMARC record (check your provider docs for values) as you created other records in previous steps.
| Type | Host | Value |
| CNAME | check your docs | check your docs |
Step 9: Check your DNS records
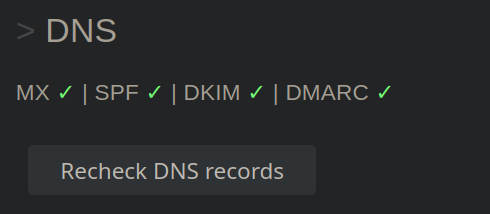
Now we verify whether our records point to our new provider. Purelymail portal has a button ‘Check DNS records’ and it can find whether records you entered are correct. It takes a few minutes and sometimes a few hours for the DNS records to propagate.

Step 10: Create account on new provider
After all the records have been correctly added, create an account on purelymail by clicking ‘Users’ button at the top and create a new user. I created ravi@ user on my domain from there.
Step 11: Import data from gandi.net email
purelymail has an option to import data, like emails, calendar and address book from previous account. Use that option to import emails from gandi.net. Or you can use IMAP to login to your new provider in an email client like Thunderbird and manually copy all the emails to your new account.
Step 12: Delete gandi.net email and DNS records
Delete gandi.net email from the gandi.net portal and remove all the previous records which point to gandi.net for email(like MX, SPF, DKIM).
You are done. Enjoy your new email provider and let me know which one you switched to and why :-)